Description
The model aircraft pictured is the result of 32 days of
scratch-building, resin interior, photo-etched components & new
engine.
The model aircraft pictured below is the result of 32 minutes of
opening the box, removing the components from the sprue, and gluing
them together.
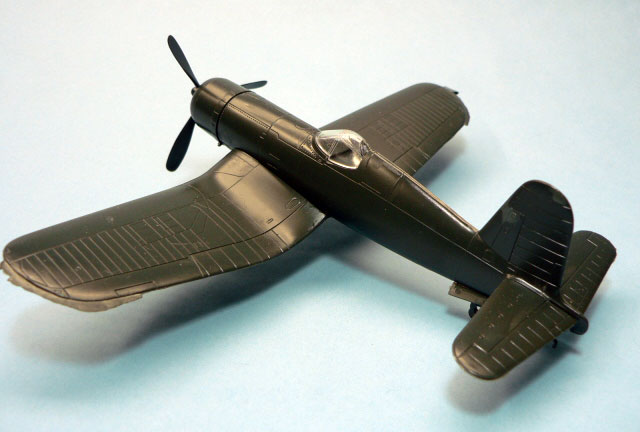
As most of the Three Rivers IPMS club members have
written me off as a loon for doing this build (Tamiya only requires
adding paint and glue to box). I decided to share my “lunacy” with
others.
I started the kit with the CMK Resin interior. This required
reducing the main fuselage to almost see-through thickness. I also
used the Photo-etched instrument panel from the CMK set.
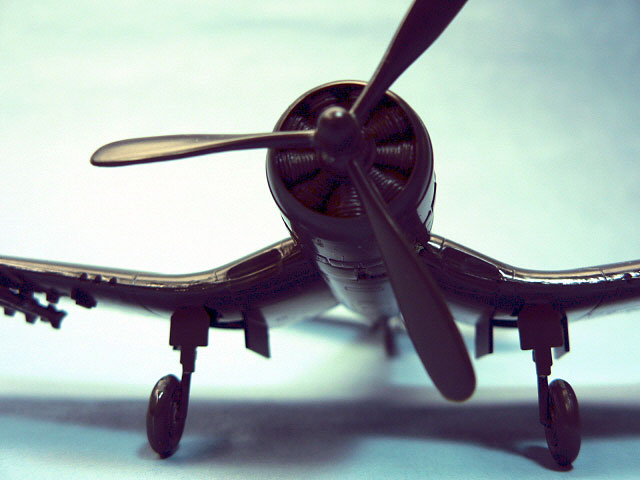
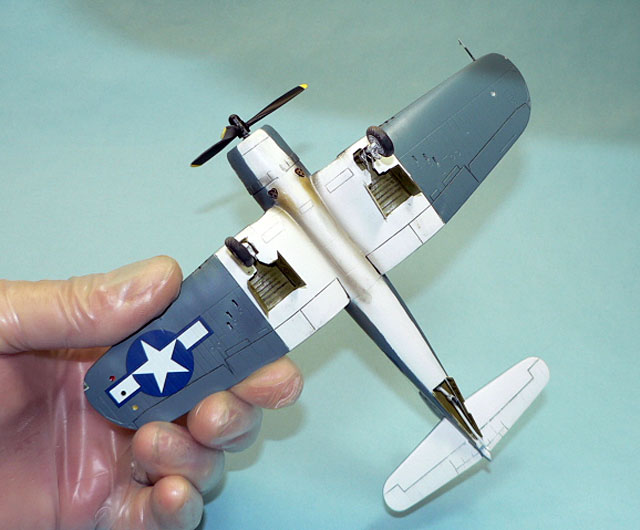
I scratch-built the wheel wells for the main gear
and tail-wheel locations.
Click the thumbnails to view larger pictures:

As there was no detail for the wing vents (major feature of the
Corsair) I did my best as a 53 year old guy to scratch these.
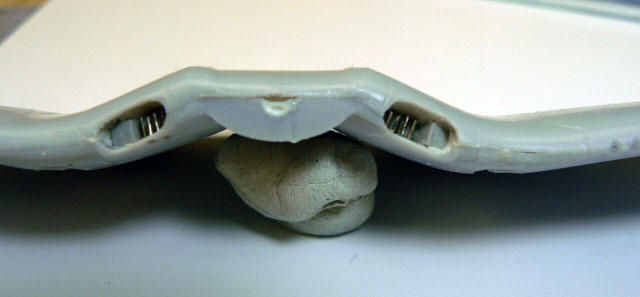
These are the original kit inlets (flat spaces).
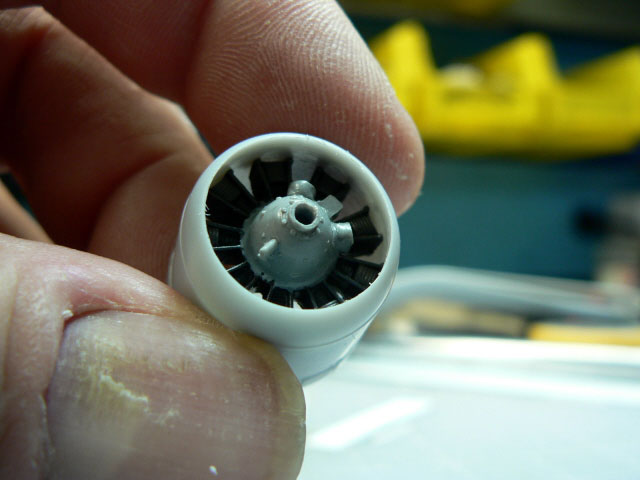
The molded-in engine was removed along with a large amount of
interior plastic in order to fit the Engine& Things resin engine.
Again, see-through body thickness was the end result.
I thinned the cowl flaps as thin as possible and
gave the fuselage a curving at the attachment point. This gave the
impression of some cowl flap opening.
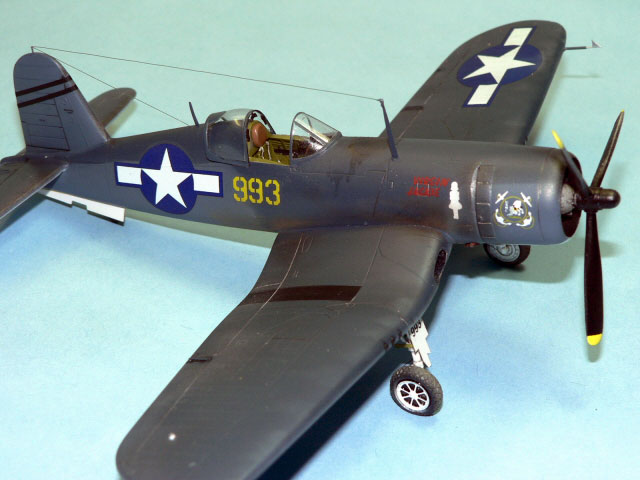
Extratech photo-etched components were used to
enhance the landing gear and replace the rear doors. The doors were
two part sections and were very nicely done. I used the kit landing
gear but modified it as much as possible to reflect the real gear.
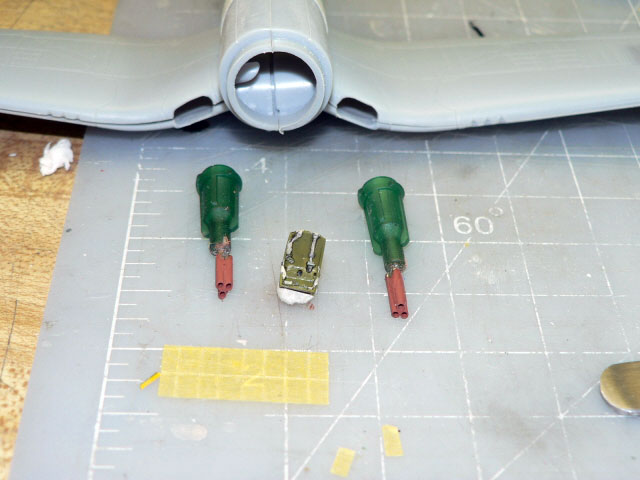
The exhausts were fabricated from Hypodermics glued
together and shaped to reflect the proper angle.
The small bits of flap actuators and such came from
the Extratech photo-etched fret. I scratch built the antennas and
the pitot tube. I used invisible thread (smoke) for the radio wires.
The resin tires and wheels were from True Details.
The model was painted with Gunze H-54 Navy blue for dark blue,
50% mix of H54 and H53 (neutral gray) for the sides and under-wing
lighter blue/gray. Flat primer white enamel was used for bottom.
Whole model was over coated with future for decal application.
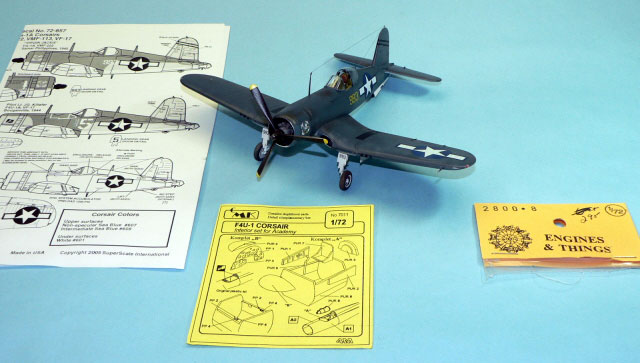
I used SuperScale decals for VMF 222. Liked the nose art! Final
coating was mixture of Testors Dullcoat and Satin lacquer finish.
Weathered using pastels, oil based washes, and Tamiya weathering
palettes.