Introduction
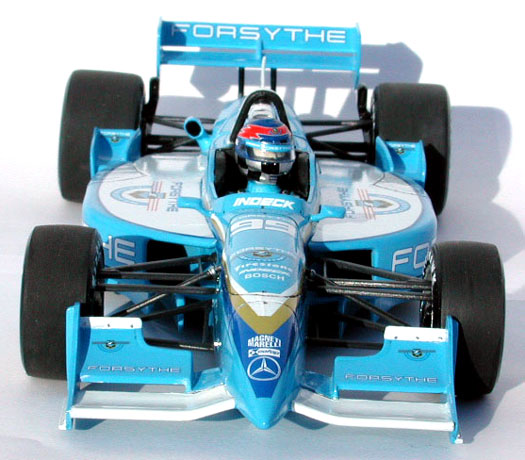
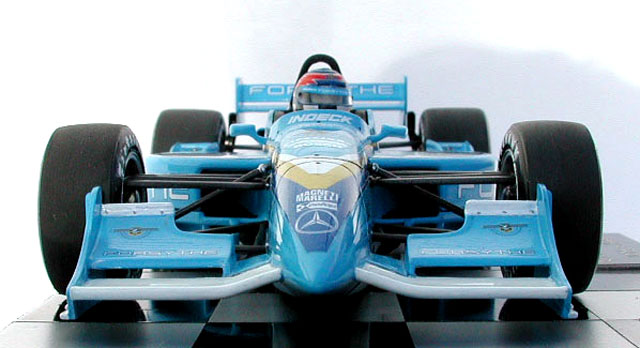
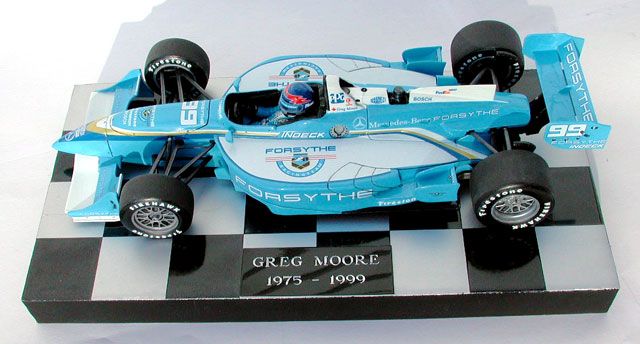
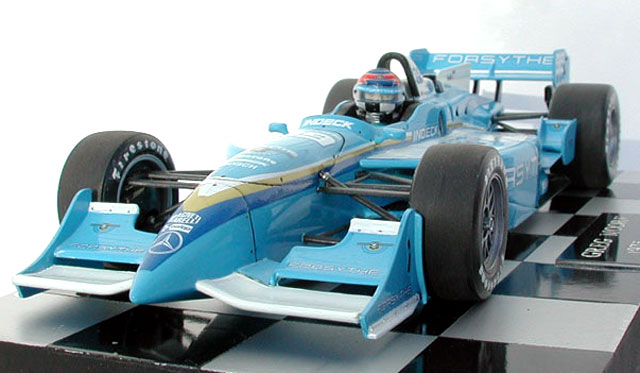
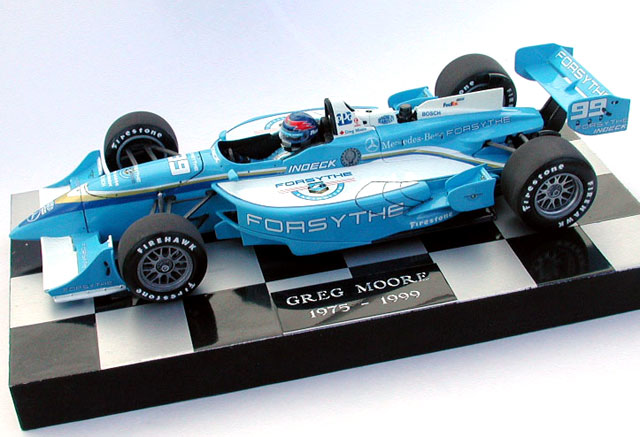
This is the Players version of the Revell Reynard kit in 1/25.
When I bought this kit I was planning to do Patrick Carpentier’s
car, but I decided to build his teammate Greg Moore’s car to pay
tribute to his great talent following his tragic death.

Construction
The kit is molded in white plastic. The recessed lines are quite
wide but I didn’t want to fill and and rescribe.
My first chore was to dry fit everything. This step paid off
because the top and bottom halves of the tub did not fit very well,
and the nose aileron curve did not match the tub’s curve. To correct
this problem I had to chop off the front bottom suspension arms that
are molded with the bottom tub to be able to assemble the tub and
apply putty. This simplified the paint process too.
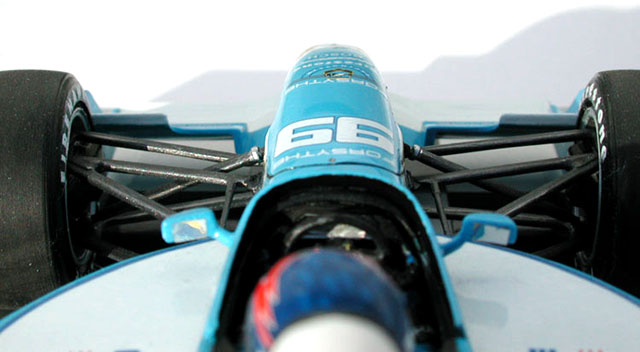
The engine cover was then cut off the top tub in order to permit
assembly of the tub before paint, because all the rear suspension
arms are hidden under the cover after assembly.
The figure was pretty simple to paint and assemble. The only issue
was the helmet visor. It did not fit the helmet at all and was way
too thick, so I replaced it with a piece of acetate. This is the
only item on the model that was not sourced straight from the, other
than the Slixx carbon fiber decals used on the brake cooling ducts
and rear wing posts.
Painting and Markings
The model was painted using Testor’s Blue #1108. The White on
the roll bar, front wing, and engine cover is Model Master’s Classic
White. The paint received a top coat of gloss clear acrylic.
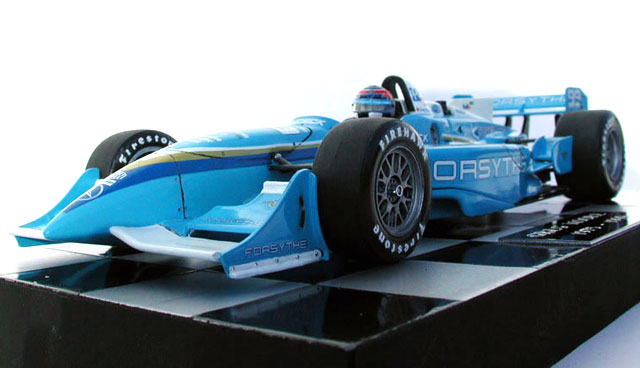
The wheels were painted using Model Master Aluminum Plate Metalizer,
then weathered with a light wash. The rear wheels were left shinier
to suggest the layer of brake dust on the front wheels. The
suspension arms were painted Interior Black and dry brushed with
Aluminum Plate Metalizer.
Decals are pretty good for Revell, although they required a lot of
Micro Sol to settle down. Micro Set had no effect.
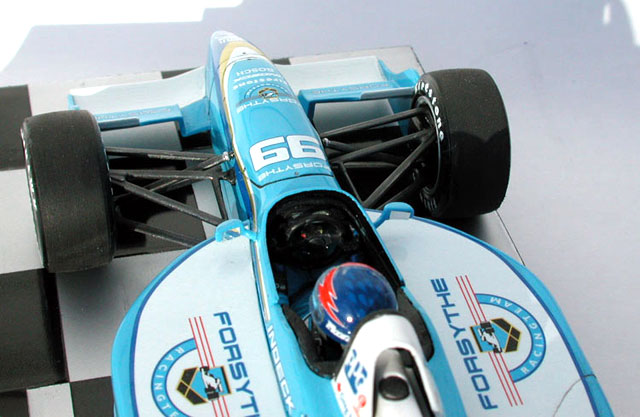
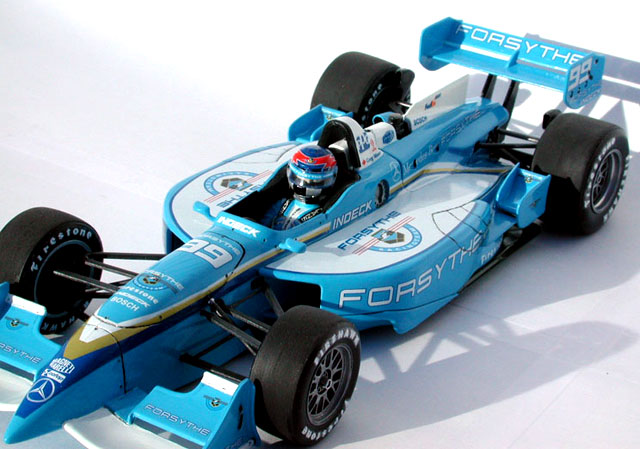
The worst-fitting decal is the one on the nose (blue, gold and white
stripe), as shown on the close up picture below. It had to be cut in
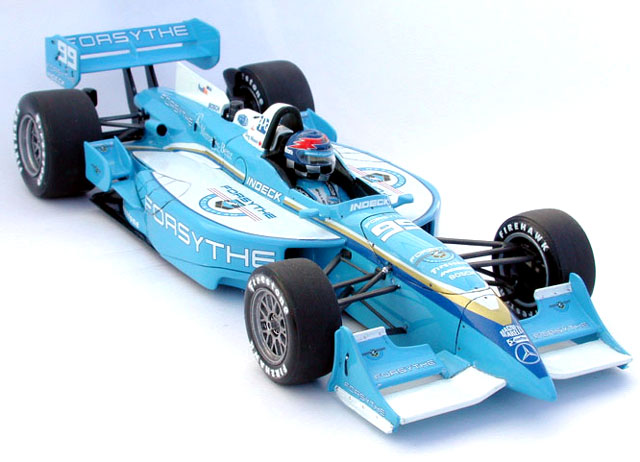
the middle and overlapped slightly. The large white decals on the
side pods have a very good opacity. I forgot to paint the top of the
pods white but the decals covered the blue very well.
For tire decals, don’t forget to apply a coat or two of gloss clear
before you apply the decals on the tires because you might have some
silvering problems like I did. Luckily, it does not show too much.
Then I applied a generous coat of clear flat acrylic over the tires,
which probably helped resolve the silvering. The car looks good with
those decals but it would look a lot better with the tobacco decals.
Conclusion
Not being an experienced modeler, I found that a lot of planning
was needed to deliver a reasonable result.
Overall though, I think that it is a pretty nice looking model on
the shelf and most of all it will help keep Greg Moore’s memory
alive.
 More Pictures